
A tote bag is one of the best beginner sewing projects. It uses straight seams and simple shapes, and you end up with something useful every day. These free tote bag sewing patterns cover everything from a quick kids’ lesson to a zip-top canvas bag for work.
Many tote tutorials skip printed pattern pieces entirely and give cutting measurements for rectangles, which means no taping PDFs together. Others include shaped templates or optional printable versions. We note the format, fabric suggestions and special features such as boxed corners, pockets and zips for each one.
As your skills grow, the same basic bag can take on linings, interfacing, recessed zippers and reinforced bottoms. Working through a few of these projects in order is an easy way to learn bag-making techniques step by step.
Quick picks at a glance
| # | Resource | License | Best for |
|---|---|---|---|
| 1 | Classic Tote by AppleGreen Cottage | Free online pattern; publisher explicitly allows sales of handmade items | Making a classic lined everyday tote |
| 2 | Market Tote by AppleGreen Cottage | Free online tutorial; printable tutorial bundle is optional and paid | Sewing a flat-bottom market or storage tote |
| 3 | Easy Tote by Skip To My Lou | Free tote pattern download and public instructions | Following a small, beginner-friendly tote lesson |
| 4 | Lined Tote Bag by The Inspired Wren | Free publicly accessible sewing tutorial | Learning a structured lined canvas construction |
| 5 | Reversible Tote by Skip To My Lou | Free dimension-based tutorial on the page | Practising linings and boxed corners |
| 6 | Simple Tote Bag by Crazy Little Projects | Free online sewing instructions; supplies purchased separately | Building confidence with a simple fabric tote |
| 7 | Beginner Tote by Melly Sews | Free written tutorial and cutting dimensions; optional graphic linked | Combining a pocket with a video-supported tote lesson |
| 8 | Japanese Style Patchwork Tote by SewCanShe | Blog instructions free to read, print and sew; optional PDF access costs extra | Trying patchwork and a reversible pocket layout |
| 9 | Canvas Bottom Tote by The Polka Dot Chair | Free online pattern and tutorial | Adding a durable contrast bottom to a tote |
| 10 | Teacher Tote by SewCanShe | Free blog pattern; optional printable PDF or membership is separate | Learning an approachable zip-top canvas tote |
Classic Tote by AppleGreen Cottage
Lined tote bag tutorial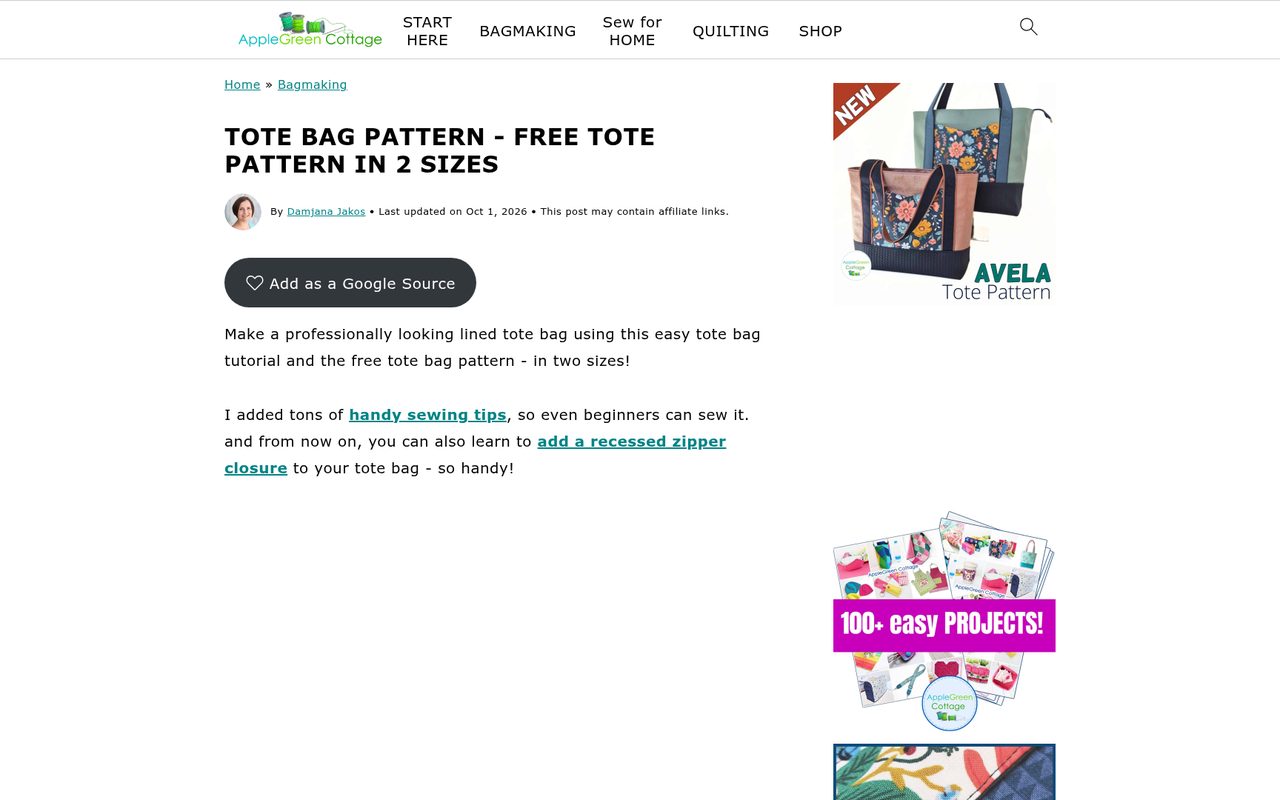
AppleGreen Cottage’s classic lined tote comes in two sizes, with strong handles and an interior pocket for keys and a phone. The basic version avoids hardware and curves, which keeps it achievable for beginners, and the tutorial explains when and how to use interfacing for extra body.
A separate section introduces an optional recessed zipper for those who want a closed top. Unusually, the publisher clearly states that you may sell bags made from this pattern, which is useful for craft-fair sewists.
- Type
- Lined tote bag tutorial
- Best for
- Making a classic lined everyday tote
- License
- Free online pattern; publisher explicitly allows sales of handmade items
- Price
- Free
Market Tote by AppleGreen Cottage
Flat-bottom market tote tutorial
This market tote comes in three sizes and doubles as a fabric storage basket for shelves or toys. Its square bottom uses a clever construction that avoids the usual boxed-corner method, giving crisp edges with less bulk.
The page includes a feature video and practical advice on stabilizing lighter fabrics so the bag stands up on its own. The full tutorial is free to follow online, while a printable tutorial bundle is available as an optional paid extra for people who prefer paper instructions.
- Type
- Flat-bottom market tote tutorial
- Best for
- Sewing a flat-bottom market or storage tote
- License
- Free online tutorial; printable tutorial bundle is optional and paid
- Price
- Free online; optional paid printable
Easy Tote by Skip To My Lou
Kids’ beginner tote tutorial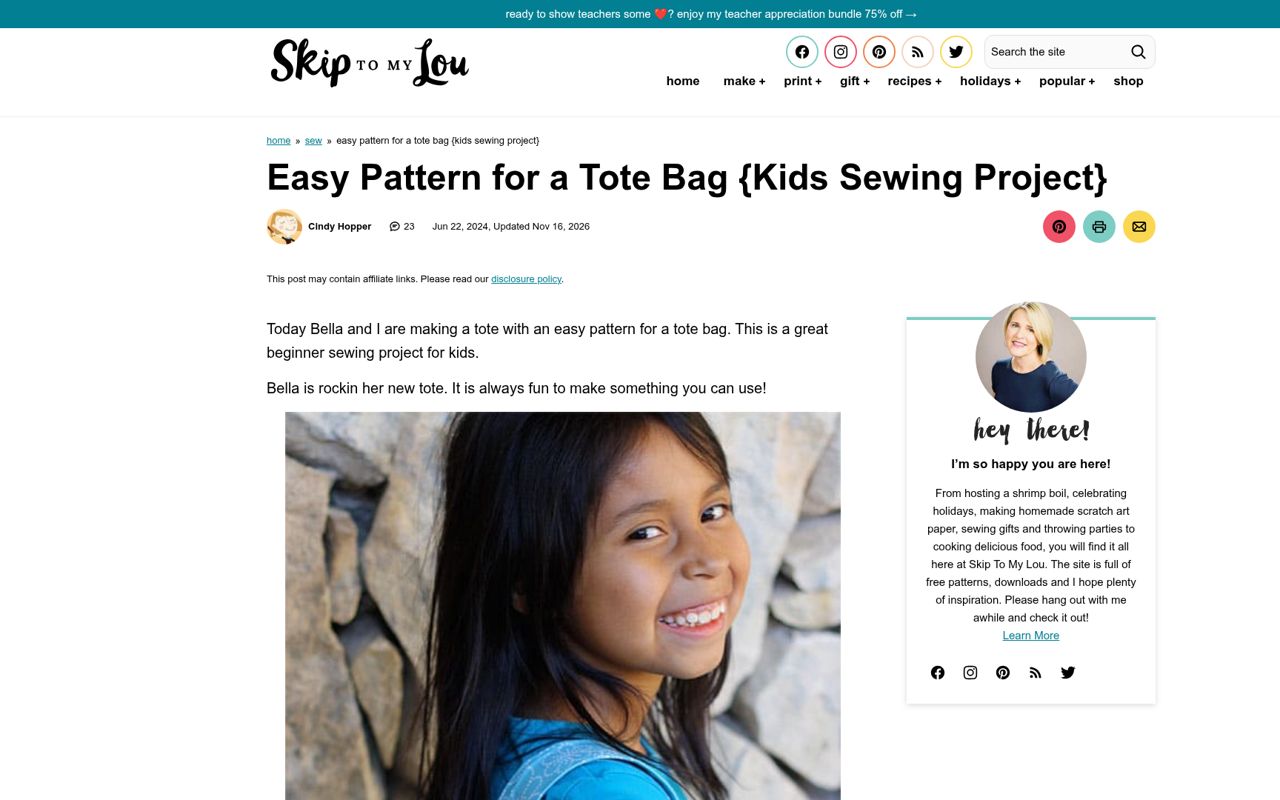
Skip To My Lou designed this easy tote as a first project for children learning to sew, which makes it equally good for adult beginners. The body is cut from sturdy woven fabric, canvas or heavyweight cotton, with a contrasting band across the top.
A free pattern download sits alongside a clear cutting guide and photographed directions that explain each seam. The small size keeps fabric costs low and finishes quickly, giving new sewists a confidence boost before they try lined bags.
- Type
- Kids’ beginner tote tutorial
- Best for
- Following a small, beginner-friendly tote lesson
- License
- Free tote pattern download and public instructions
- Price
- Free
Lined Tote Bag by The Inspired Wren
Lined canvas tote tutorial
The Inspired Wren’s lined canvas tote pairs a sturdy outer fabric with a separate cotton lining for a neat finish inside and out. The tutorial walks through cutting, making the handles and assembling the outer and lining before joining them at the top edge.
Photos show each stage, so you never have to guess how the bag goes together from a single finished image. Canvas gives the bag enough body to stand without interfacing, and the clean top edge is achieved with a final topstitch.
- Type
- Lined canvas tote tutorial
- Best for
- Learning a structured lined canvas construction
- License
- Free publicly accessible sewing tutorial
- Price
- Free
Reversible Tote by Skip To My Lou
Reversible tote tutorial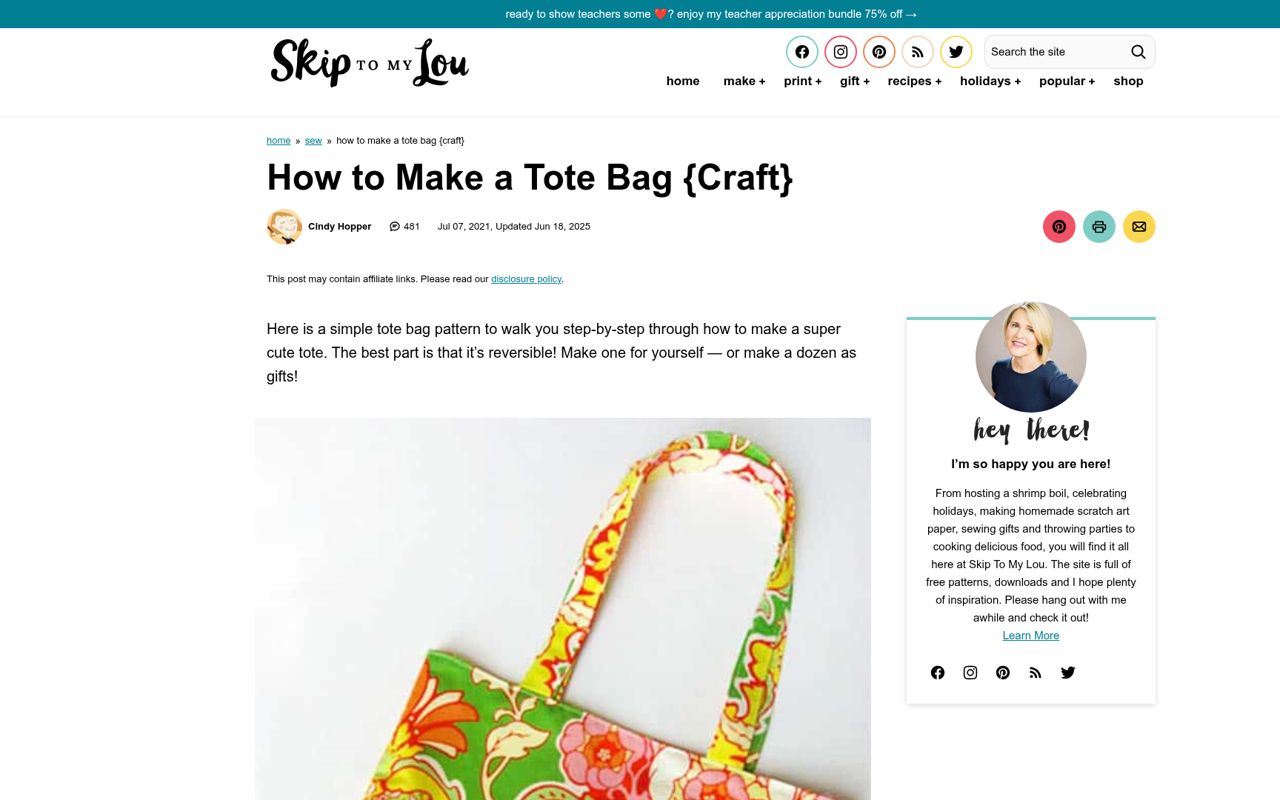
This reversible tote uses matching outer and lining panels so either fabric can face out. A single long strip is cut and divided into the two handles, keeping the cutting plan simple. Boxed corners give the base depth so the bag holds books or groceries without bulging.
Because the tutorial supplies rectangle cutting dimensions, there is no tiled paper pattern to print and tape. Choose two coordinating prints of similar weight, so the bag looks balanced whichever side you use.
- Type
- Reversible tote tutorial
- Best for
- Practising linings and boxed corners
- License
- Free dimension-based tutorial on the page
- Price
- Free
Simple Tote Bag by Crazy Little Projects
Beginner tote tutorial
Crazy Little Projects teaches a simple fabric tote through a friendly, beginner-oriented walkthrough. The bag combines contrasting fabric sections, which makes it easy to plan coordinated combinations from fat quarters or leftover yardage.
Construction introduces a lining and handle attachment using straightforward straight seams, so no special presser feet are needed. The step photos are large and clear, and the page explains each pressing step as well as the sewing. It is a cheerful project for a first weekend at a new sewing machine.
- Type
- Beginner tote tutorial
- Best for
- Building confidence with a simple fabric tote
- License
- Free online sewing instructions; supplies purchased separately
- Price
- Free
Beginner Tote by Melly Sews
Lined tote with pocket tutorial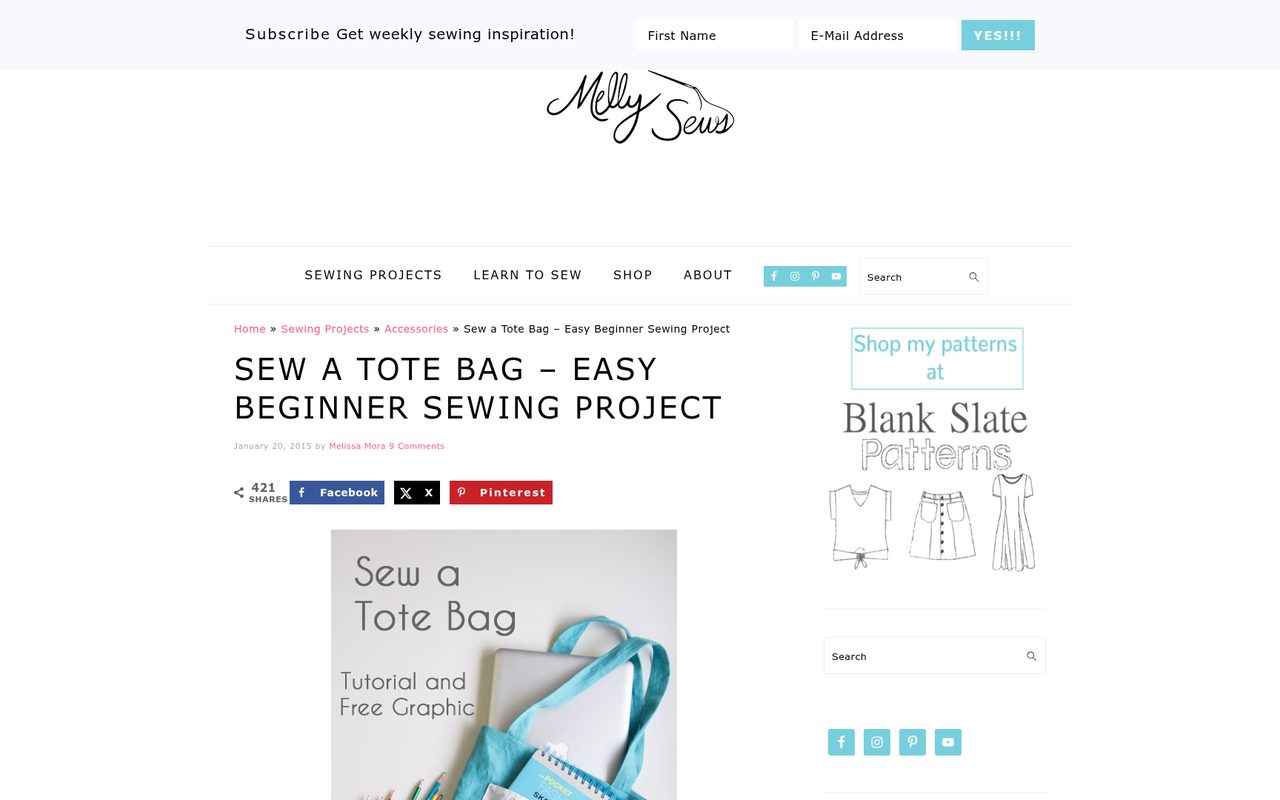
Melissa Mora’s beginner tote has a full lining, an outer pocket and fabric straps. The page gives exact rectangle cutting measurements and a half-inch seam allowance, with written directions backed up by a linked video.
An optional printable graphic can decorate the pocket using heat transfer vinyl or fabric paint, adding a personal touch. The instructions explain why each step matters, such as topstitching the pocket edge before attaching it. It is a well-taught project for anyone who learns best by watching and reading together.
- Type
- Lined tote with pocket tutorial
- Best for
- Combining a pocket with a video-supported tote lesson
- License
- Free written tutorial and cutting dimensions; optional graphic linked
- Price
- Free
Japanese Style Patchwork Tote by SewCanShe
Patchwork tote tutorial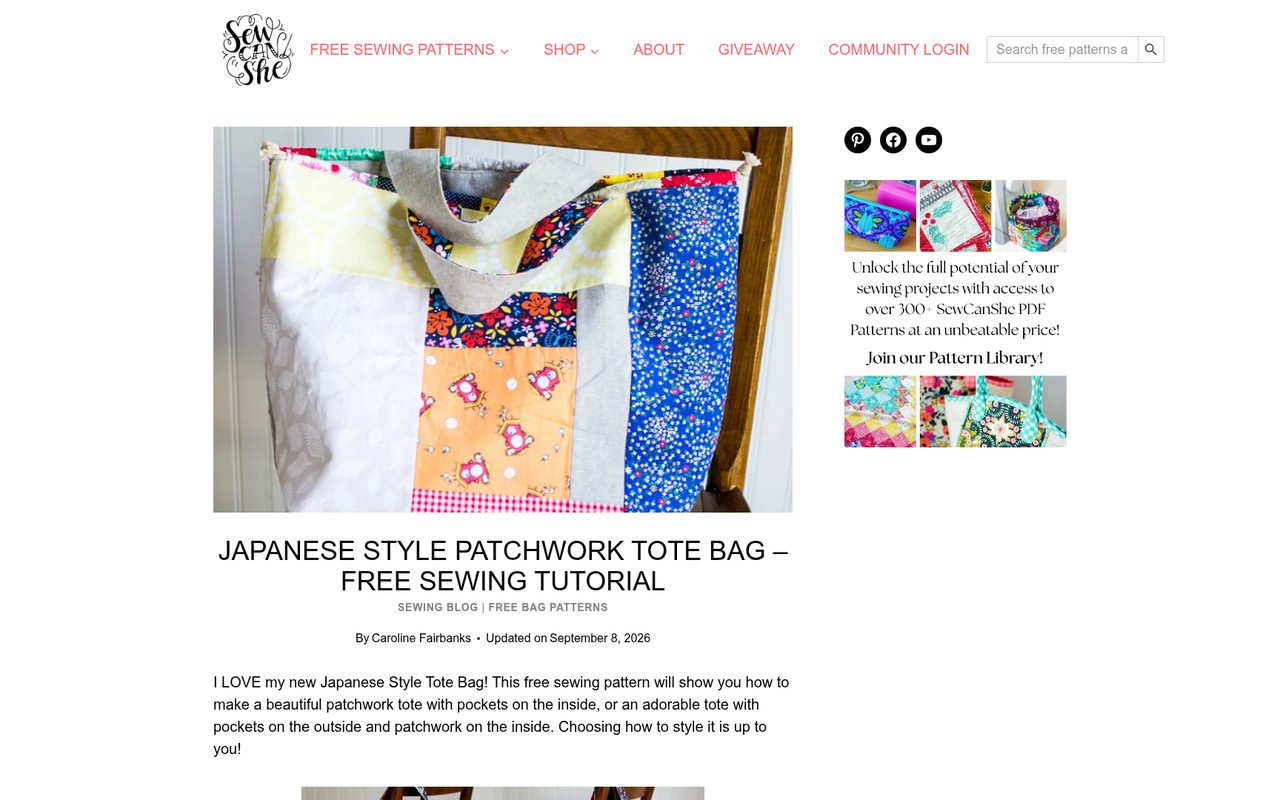
Inspired by Japanese sewing books, this patchwork tote pairs a pieced panel with a contrasting body. Clever construction lets the pockets sit either inside or outside the bag, depending on which way you turn it.
The sample uses Essex cotton-linen blend, which gives a soft, natural texture. The blog instructions are free to read, print and sew, while an ad-free optimized PDF is offered separately for a fee. It is a good bridge project between quilting and bag-making.
- Type
- Patchwork tote tutorial
- Best for
- Trying patchwork and a reversible pocket layout
- License
- Blog instructions free to read, print and sew; optional PDF access costs extra
- Price
- Free online; optional paid PDF
Canvas Bottom Tote by The Polka Dot Chair
Contrast-bottom tote tutorial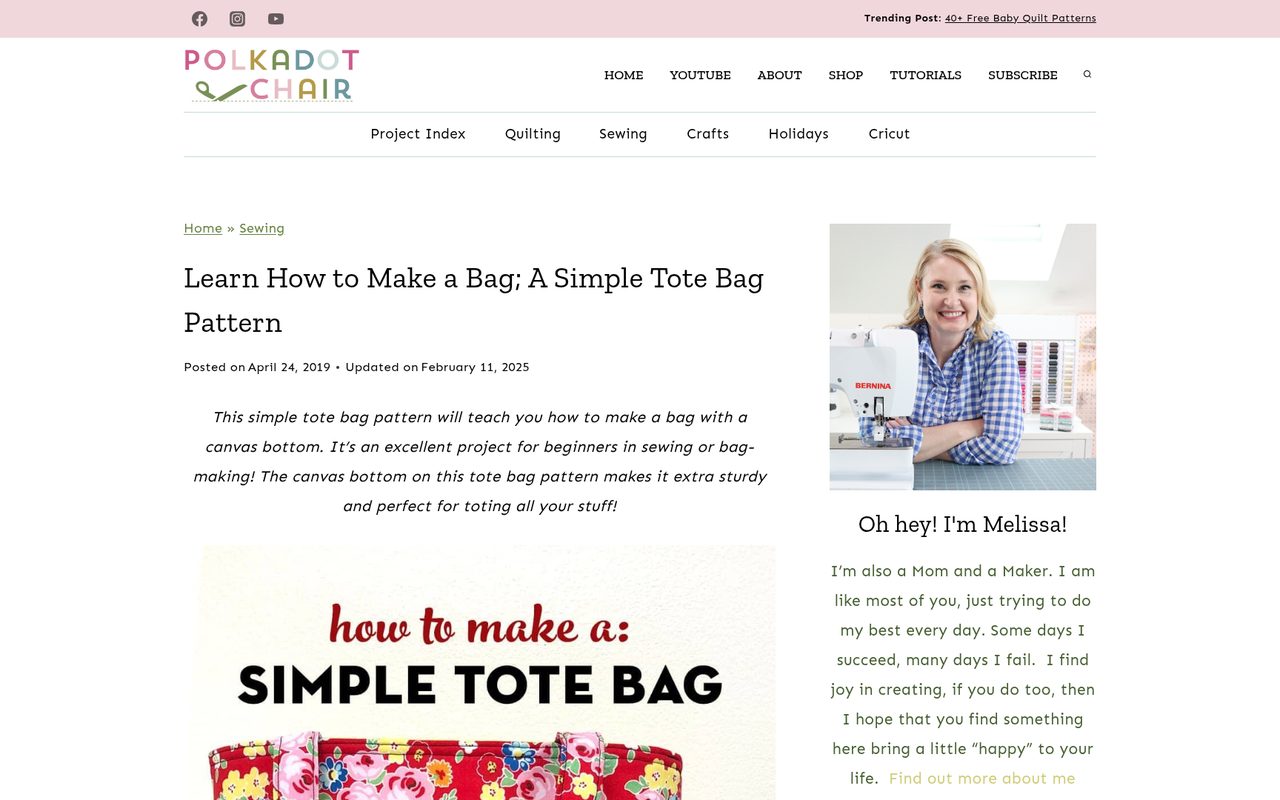
Taught by Amy of Ameroonie Designs on The Polka Dot Chair, this tote reinforces its lower section with dark canvas, which hides wear and adds strength where bags take the most abuse. Fusible fleece and medium-weight interfacing give the body a soft but structured feel.
The illustrated lesson takes beginners through every stage with clear diagrams. The contrast bottom also makes a neat design feature, so it is a nice way to show off a favourite quilting cotton print on the upper panel.
- Type
- Contrast-bottom tote tutorial
- Best for
- Adding a durable contrast bottom to a tote
- License
- Free online pattern and tutorial
- Price
- Free
Teacher Tote by SewCanShe
Zip-top canvas tote tutorial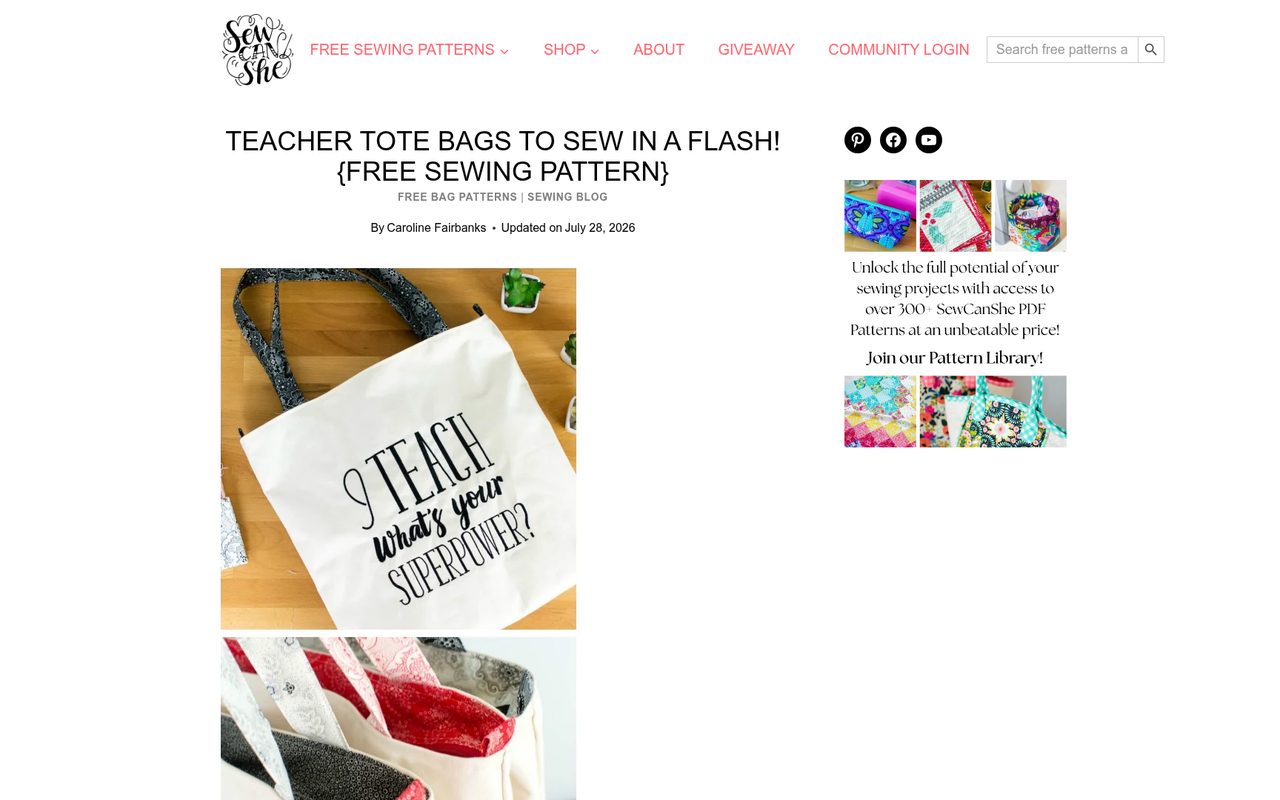
The Teacher Tote uses medium-weight canvas or duck cloth for an unlined body that is strong enough for books and laptops. Quilting cotton supplies the straps and a recessed zipper panel that closes the top.
The tutorial recommends an eighteen-inch or longer zipper and explains its installation step by step, which makes this a gentle introduction to zips in bags. It makes a thoughtful end-of-year gift for teachers, and the free blog version covers every step without the optional printable PDF.
- Type
- Zip-top canvas tote tutorial
- Best for
- Learning an approachable zip-top canvas tote
- License
- Free blog pattern; optional printable PDF or membership is separate
- Price
- Free online; optional paid PDF
Choose canvas, denim or cotton with interfacing
Heavier fabrics such as canvas, duck cloth and denim make sturdy totes that stand up without much help. Quilting cotton is lovely for prints but needs fusible interfacing or fleece to give it body, otherwise the bag will slump when empty.
Match the interfacing weight to the fabric and fuse it with a press cloth, holding the iron in place for the time the package suggests. Test on a scrap first, because some interfacings bubble when overheated.
Sew boxed corners for depth
Boxed corners turn a flat bag into one with a base. After sewing the side and bottom seams, pinch each corner into a triangle with the seams aligned, measure across, and stitch straight across before trimming.
The width of that seam sets the depth of the bag. Some patterns cut squares from the corners before sewing instead, which gives the same result with more accuracy. Make both corners identical so the bag sits level.
Make strong straps and place them well
Straps carry all the weight, so fold them with interfacing inside or use cotton webbing. Topstitch along both long edges to stop them twisting, and keep the finished width comfortable on the shoulder, usually between one and one and a half inches.
Anchor each strap with a box-and-cross stitch through all layers. Place straps evenly from the side seams, and measure the drop by holding the bag on your shoulder before sewing them permanently.
Add linings, pockets and zips
A lining hides raw seams and makes the bag last longer. Leave a turning gap in the lining bottom, turn the bag through and close the gap with edge stitching. Slip pockets sewn into the lining before assembly keep phones and keys easy to find.
Zips feel intimidating, but a recessed zipper panel is one of the easiest bag closures to learn. Use a zipper foot, sew slowly near the pull and move it out of the way rather than sewing around it.
Pick the right needle and thread
Thick layers need a denim or jeans needle, size 90 or 100, and a slightly longer stitch length. A standard universal needle can skip stitches or break when it meets canvas seams and strap joints.
Use strong polyester thread rather than cotton for bags, and sew over thick seam joins slowly. A small folded scrap under the back of the presser foot helps the machine climb over bulky layers without stalling.
Press as you sew
Pressing makes the difference between a homemade-looking bag and a polished one. Press every seam open or to one side as you go, and press the top edge firmly before topstitching so the lining stays hidden inside.
Use a clapper or wooden block on canvas to flatten bulky seams, and a press cloth on prints with metallic ink or vinyl. A well-pressed tote also sits flatter in a drawer when not in use.
When the bag is finished, give it one final press with plenty of steam and fill it with crumpled paper while it cools. That small step helps the boxed base set into shape and keeps the sides upright.