
Good free zipper pouch patterns teach more than how to join a few rectangles. They show how a zipper changes the sewing order, how lining encloses seams and how a little depth turns a flat pocket into a useful organizer. This selection includes makeup bags, pencil cases and compact everyday pouches.
The projects below mix printable templates and measured tutorials. Some supply a PDF directly, while others explain the cuts in the web instructions or offer an optional paid printable. Read the supply list before choosing: canvas, foam, fusible fleece and a decorative lace zipper are not interchangeable ingredients.
Choose your first project by its construction details, not only its finished photograph. A plain lined pouch is a sensible place to learn zipper placement; a boxed design adds spatial thinking and thicker corners. Free access describes the instructions, not automatic permission to redistribute the files or sell finished work.
Quick picks at a glance
| # | Resource | License | Best for |
|---|---|---|---|
| 1 | Suzy Quilts Simple Scrap Zipper Pouch | Free tutorial; commercial-use permission not established on the project page | Learning a first lined zipper |
| 2 | Noodlehead Open Wide Zippered Pouch | Free tutorial; commercial-use permission not established on the project page | Seeing everything inside a makeup pouch |
| 3 | Noodlehead Canvas Pencil Pouch | Free tutorial; commercial-use permission not established on the project page | Color-blocked canvas stationery storage |
| 4 | Noodlehead Binder Pouch | Free tutorial; commercial-use permission not established on the project page | Keeping small supplies in a ring binder |
| 5 | AppleGreen Cottage BOXED Zipper Pouch | Free tutorial; commercial-use permission not established on the project page | Practicing enclosed box-pouch construction |
| 6 | Sew Sweetness Windsor Pouch | Free tutorial; commercial-use permission not established on the project page | Featuring a decorative lace zipper |
| 7 | Crafting with Clementine Zippered Pencil Case | Free tutorial; commercial-use permission not established on the project page | Using layer-cake fabric squares |
| 8 | Polka Dot Chair Curved Makeup Bag | Free tutorial; commercial-use permission not established on the project page | Making a larger travel makeup organizer |
| 9 | SewCanShe Boxy Zipper Pouch with Side Pockets | Free tutorial; commercial-use permission not established on the project page | Combining foam structure and exterior pockets |
| 10 | SewCanShe Easy Tabbed Zipper Pouches | Free tutorial; commercial-use permission not established on the project page | Choosing small or medium everyday organizers |
Suzy Quilts Simple Scrap Zipper Pouch
Measured flat pouch tutorial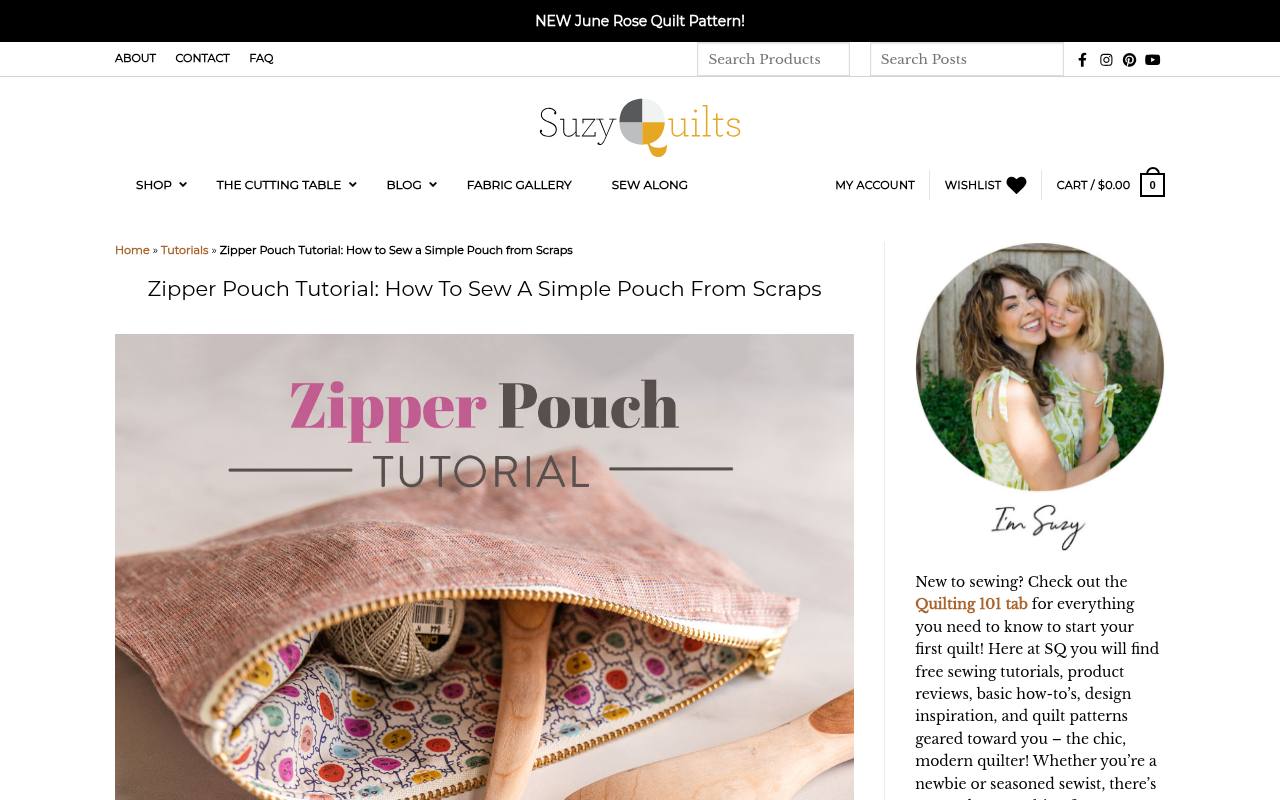
Suzy Williams starts with four equal fabric rectangles and explains how their width relates to the zipper’s full tape length, not just its teeth. Her sample combines linen outside with Liberty Tana Lawn inside, offering a useful contrast between sturdy exterior and lightweight lining.
The beginner-friendly web tutorial lists supplies directly rather than requiring purchased pattern pieces. It is particularly helpful if your available zipper determines the pouch dimensions. Follow the cutting explanation before trimming fabric, because confusing zipper tape length with the labeled opening length changes the fit.
- Type
- Measured flat pouch tutorial
- Best for
- Learning a first lined zipper
- License
- Free tutorial; commercial-use permission not established on the project page
- Price
- Free
Noodlehead Open Wide Zippered Pouch
Boxed-bottom pouch tutorial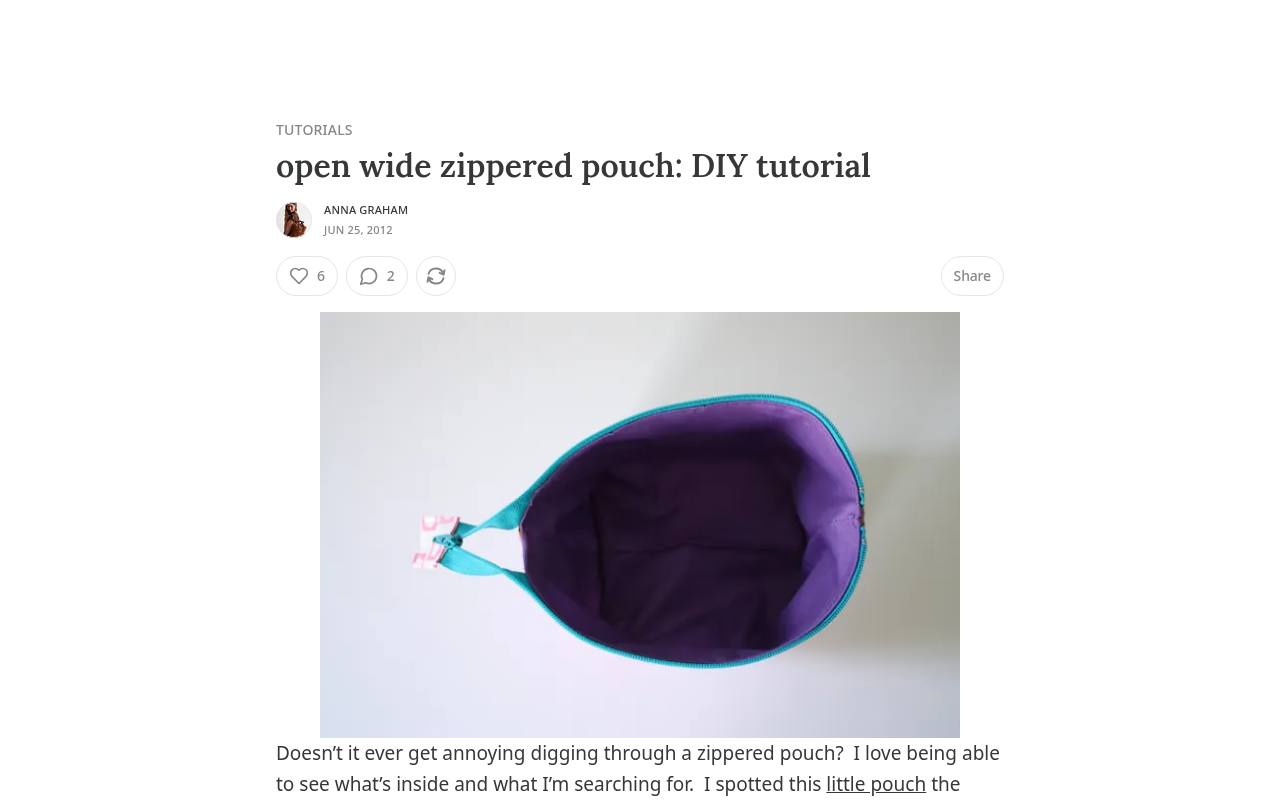
Anna Graham’s open-wide zipper construction lets the opening spread apart instead of trapping small objects beneath narrow corners. The free tutorial demonstrates the small pouch and links to a separate three-size chart. Supplies include a zipper at least ten inches long, fabric and optional interfacing; the sample uses Pellon SF101.
Instructions explain bending the zipper away from the seam near one edge, a detail central to this design. Read the half-inch seam allowance note carefully, since the zipper attachment uses a different allowance. This is a measured tutorial rather than a conventional tiled garment-style pattern.
- Type
- Boxed-bottom pouch tutorial
- Best for
- Seeing everything inside a makeup pouch
- License
- Free tutorial; commercial-use permission not established on the project page
- Price
- Free
Noodlehead Canvas Pencil Pouch
Template-based pencil case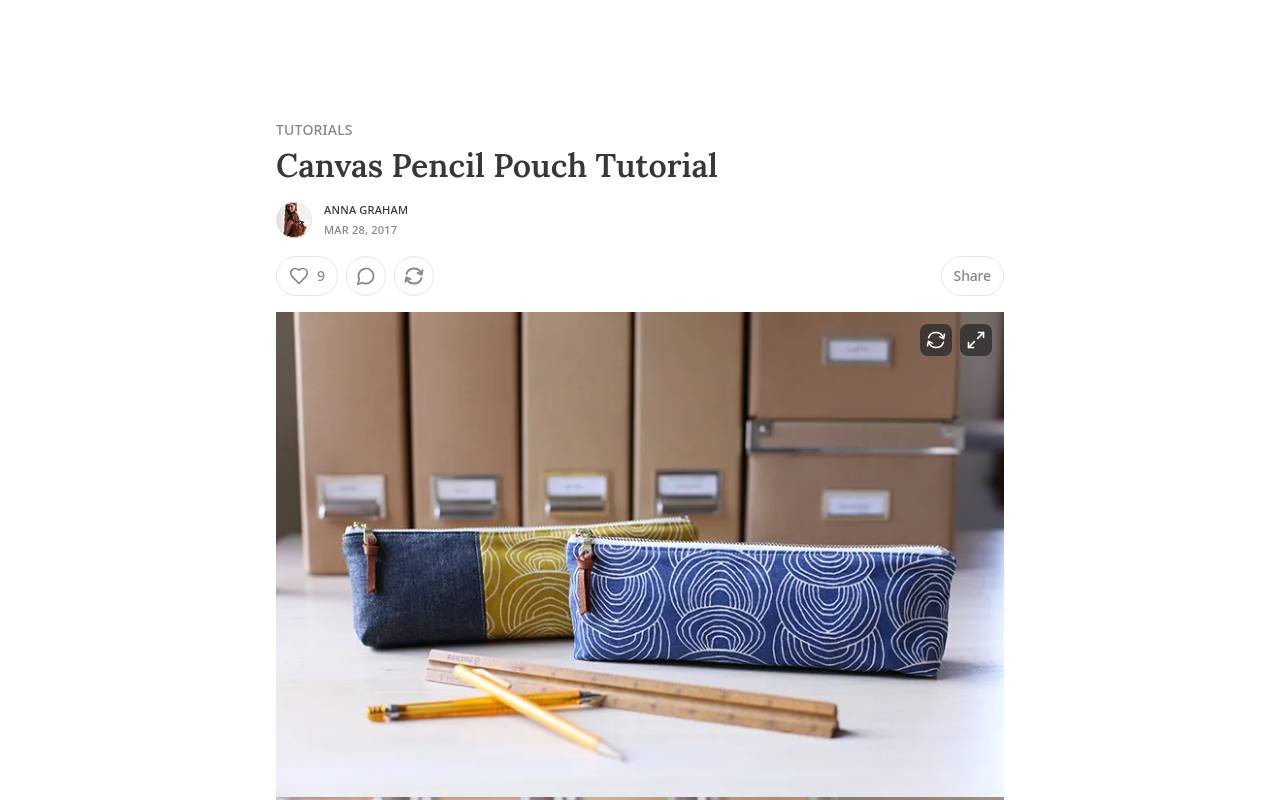
The color-blocked exterior is the defining feature of Anna Graham’s canvas pencil pouch, with main and accent pieces mirrored across the zipper. Her free tutorial includes downloadable templates and specifies printing at full size without scaling. The finished case is approximately ten and a half inches wide, three and a quarter inches tall and one and a half inches deep.
Suggested materials include canvas, denim or twill, cotton canvas lining and woven fusible interfacing. A ten-inch zipper completes the supply list, with a decorative pull optional. Pay attention to reversed cutting so the blocks align as intended.
- Type
- Template-based pencil case
- Best for
- Color-blocked canvas stationery storage
- License
- Free tutorial; commercial-use permission not established on the project page
- Price
- Free
Noodlehead Binder Pouch
Windowed binder pencil pouch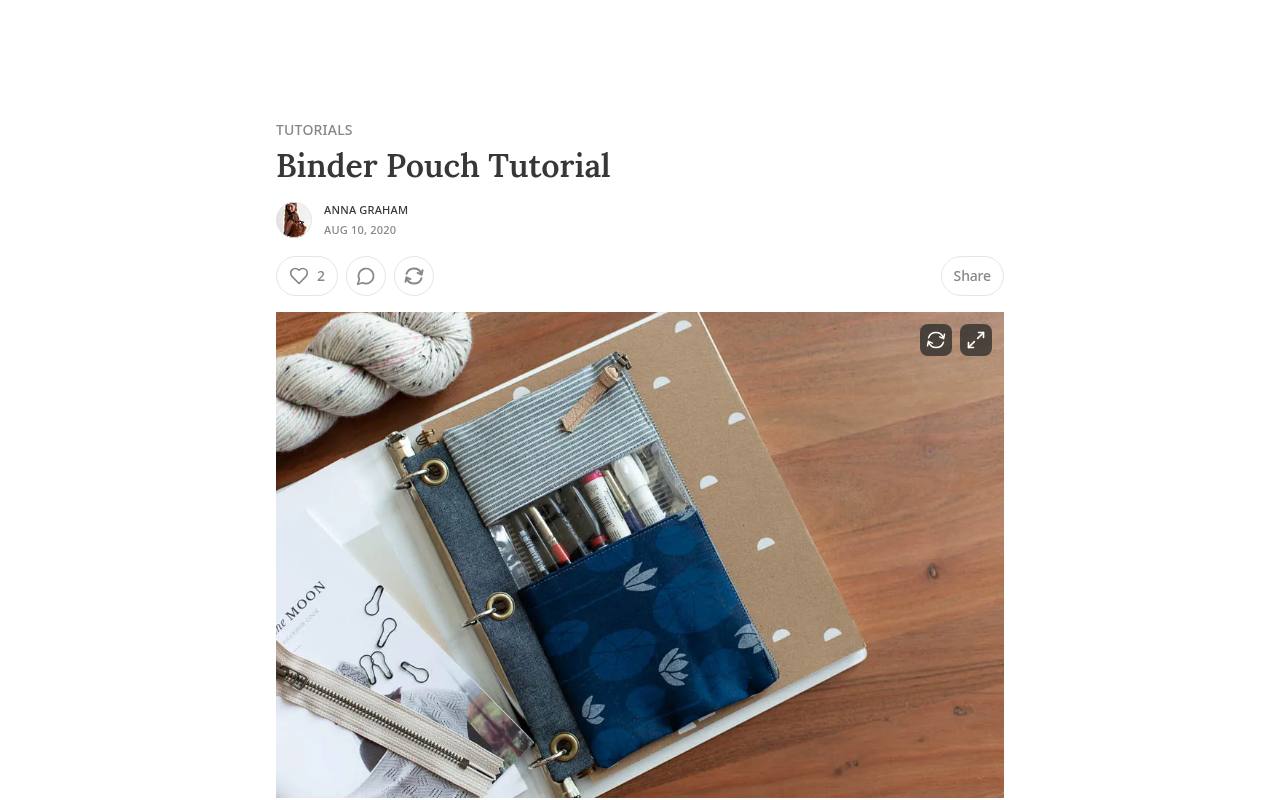
Originally written for Sew, Mama, Sew!, this binder pouch tutorial was republished by its designer after that website closed. Anna Graham supplies fresh photographs alongside the instructions, keeping the original project available from its creator. A clear vinyl window makes the contents visible, while three grommets let the pouch live inside a binder.
The materials list calls for a ten-inch zipper, fabric scraps and a small vinyl piece. This offers a different construction exercise from a plain rectangle pouch: you will also handle transparent material and install hardware. Personalization suggestions include initials and embroidery.
- Type
- Windowed binder pencil pouch
- Best for
- Keeping small supplies in a ring binder
- License
- Free tutorial; commercial-use permission not established on the project page
- Price
- Free
AppleGreen Cottage BOXED Zipper Pouch
Lined box pouch pattern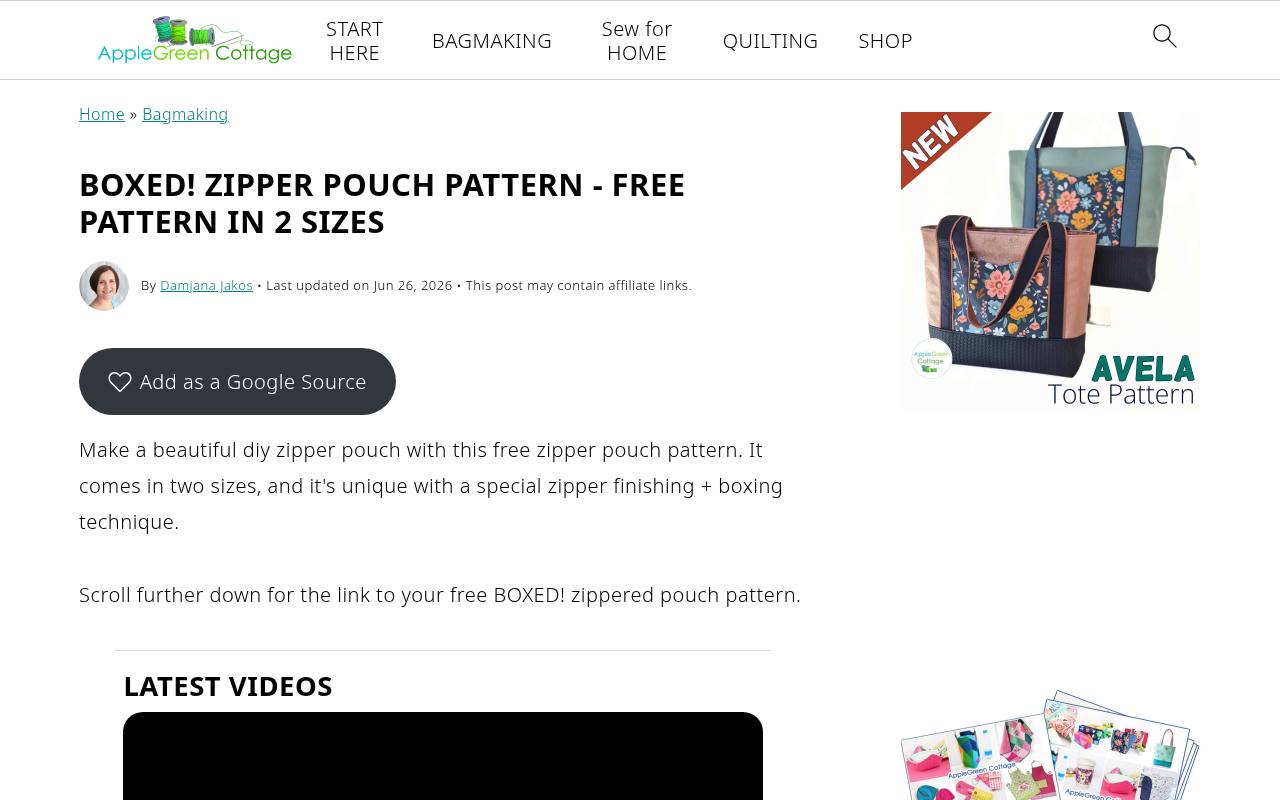
Damjana Jakos offers the BOXED pouch in two sizes, with a free pattern linked from the tutorial. Its appeal is a fully lined interior without exposed edges or binding, paired with a particular zipper-finishing and boxing method.
The designer identifies it as an intermediate-level project, so it is better treated as a skill-building make than an automatic first zipper attempt. Pencil storage, makeup and small first-aid supplies are among the suggested uses. The illustrated blog instructions are free; the shop’s printer-friendly tutorial is an optional purchase, not a requirement for completing the pouch.
- Type
- Lined box pouch pattern
- Best for
- Practicing enclosed box-pouch construction
- License
- Free tutorial; commercial-use permission not established on the project page
- Price
- Free online pattern and tutorial; optional paid printable
Sew Sweetness Windsor Pouch
Video and PDF box pouch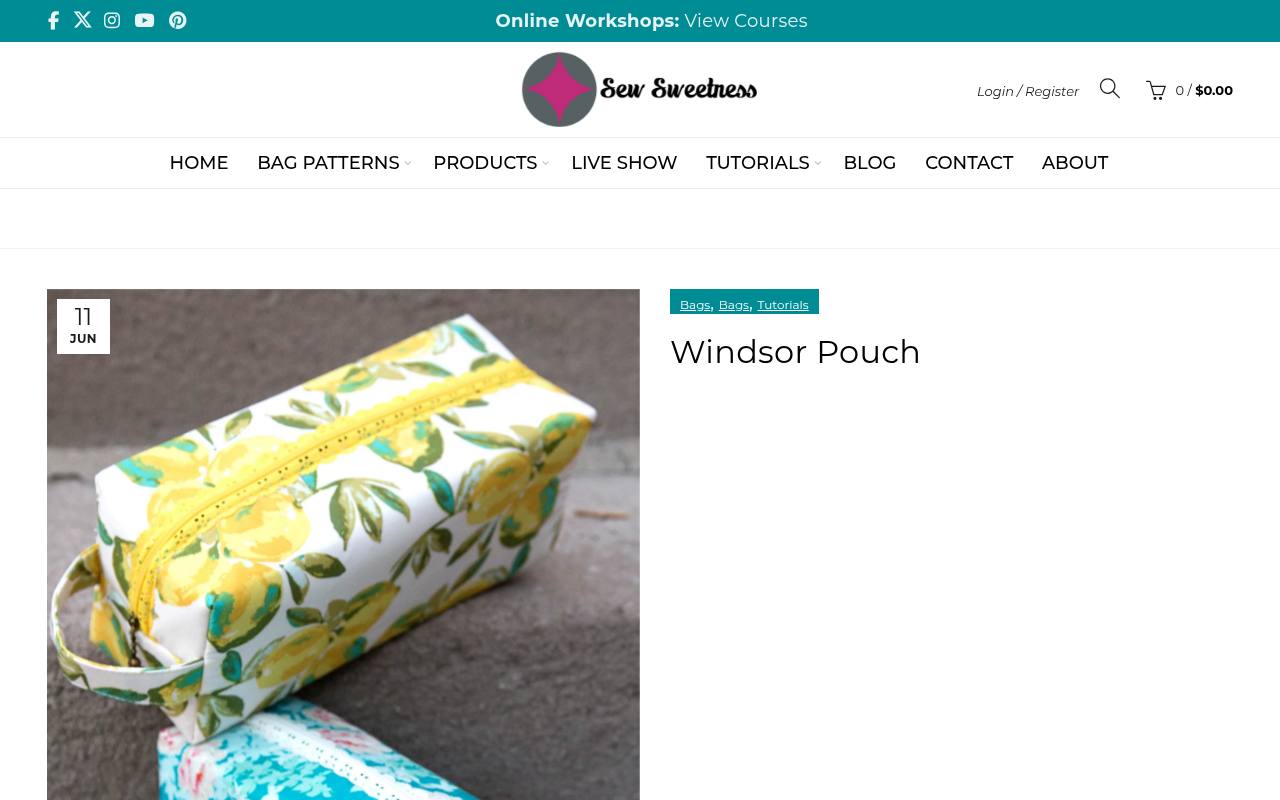
Sara Lawson’s Windsor Pouch comes with a free PDF, a sewing video and a separate SVG file for electronic cutting machines. The box-shaped design finishes at nine and a half inches long, four inches high and three and a half inches deep.
A lace zipper closure distinguishes it from pouches that hide ordinary zipper tape inside a seam. Both exterior and lining are fat-quarter friendly, but the supply list also includes foam and woven fusible interfacing. Gather those stabilizers before starting: they are part of the structured result shown in the samples.
- Type
- Video and PDF box pouch
- Best for
- Featuring a decorative lace zipper
- License
- Free tutorial; commercial-use permission not established on the project page
- Price
- Free
Crafting with Clementine Zippered Pencil Case
Lined pencil case tutorial
Robin’s pencil case finishes seven inches long with a compact rectangular shape suitable for pens, crochet hooks or small sewing notions. The free tutorial is designed around two layer-cake squares, although it also provides individual cutting dimensions for other quilting fabric.
Its lining encloses the seams without binding, which matters if you dislike finishing narrow internal edges. The supply list specifies a fourteen-inch invisible zipper and interfacing or batting, with a quilting foot optional for decorating the exterior. Read that zipper specification before shopping rather than assuming the design uses a standard short pencil-case zipper.
- Type
- Lined pencil case tutorial
- Best for
- Using layer-cake fabric squares
- License
- Free tutorial; commercial-use permission not established on the project page
- Price
- Free
Polka Dot Chair Curved Makeup Bag
Curved-top cosmetic bag pattern
Melissa Mortenson’s curved-top makeup bag is deliberately larger than the older design on which it is based. The stated dimensions are approximately eleven inches square with one and a half inches of depth, making it a roomier choice than a small pencil pouch.
Her post explains the project and directs readers to the free sewing pattern. The shape provides a chance to move beyond straight zipper-pouch edges while retaining a practical organizer format. Laminate is mentioned as a possible material variation, but follow the linked handling advice before substituting it for an ordinary woven fabric.
- Type
- Curved-top cosmetic bag pattern
- Best for
- Making a larger travel makeup organizer
- License
- Free tutorial; commercial-use permission not established on the project page
- Price
- Free
SewCanShe Boxy Zipper Pouch with Side Pockets
Quilted box pouch tutorial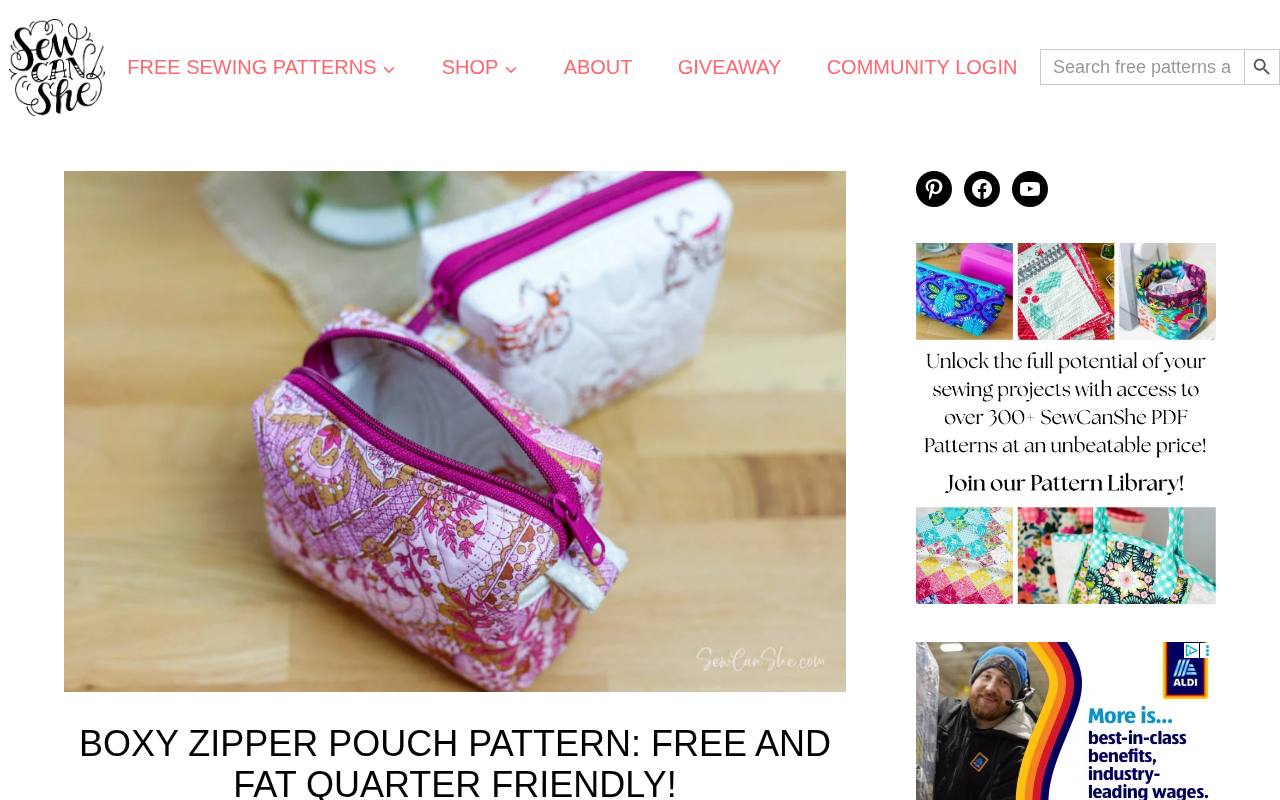
Caroline Fairbanks uses quilted foam stabilizer to give this small box pouch a firm shape. It finishes approximately six inches wide, four and a half inches tall and three inches deep. Two coordinating fat quarters provide the main fabrics, and leftover quilted scraps can become optional side pockets and pull tabs.
A free template is supplied, but the tutorial also demonstrates ruler-and-pen cutting without printing. Unlike fully enclosed seam methods, this design includes straight-line binding. The blog version is free to read, print and sew, while a separate PDF is offered as an optional convenience.
- Type
- Quilted box pouch tutorial
- Best for
- Combining foam structure and exterior pockets
- License
- Free tutorial; commercial-use permission not established on the project page
- Price
- Free web tutorial; optional paid PDF
SewCanShe Easy Tabbed Zipper Pouches
Flat lined pouch templates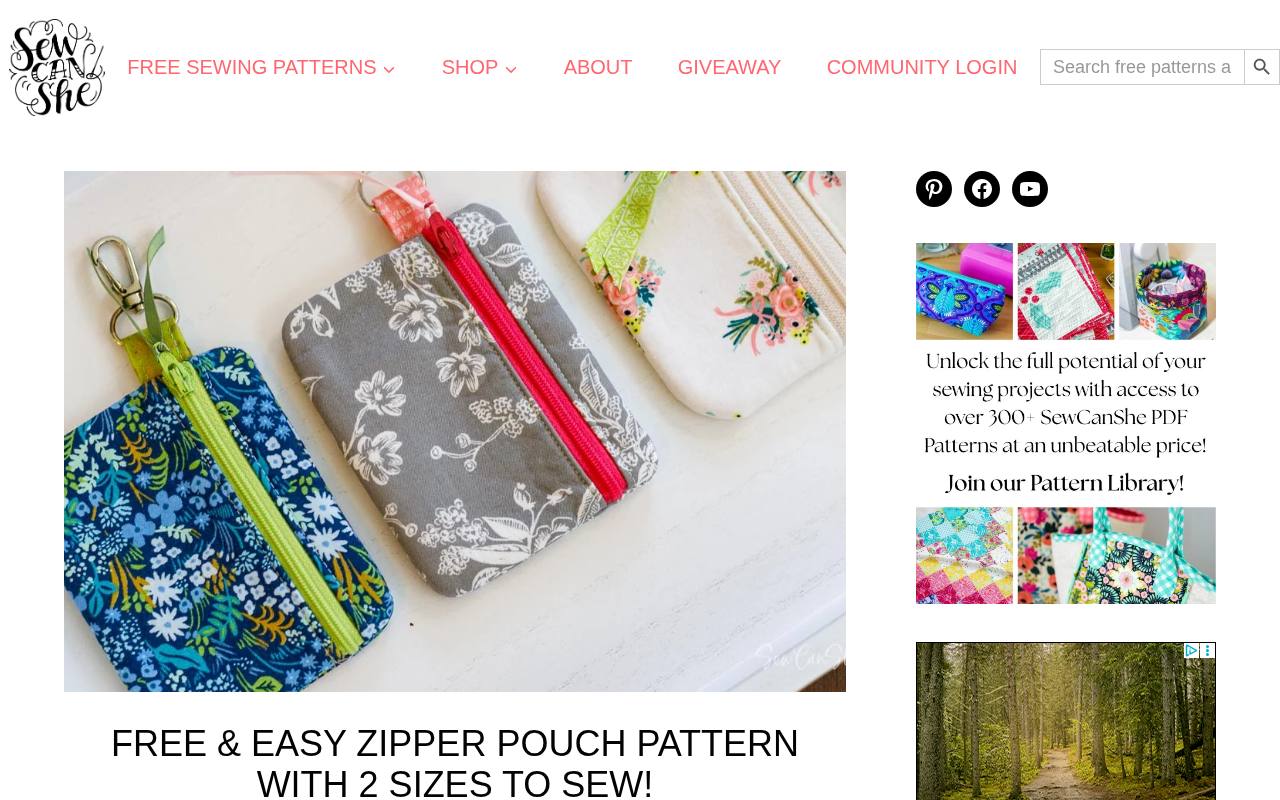
This two-size lined pouch tutorial includes free templates for a small version roughly four by five inches and a larger one roughly seven by eight and a half inches. Optional side tabs provide something to grip and can also accommodate a clip or ring.
Caroline Fairbanks discusses both regular and handbag zippers, making the project useful when comparing zipper styles. Fusible fleece is part of the learning process, and the larger pouch is fat-quarter friendly. Instructions and photographs are available on the blog without buying the optional printable PDF, so the paid download is not the only access route.
- Type
- Flat lined pouch templates
- Best for
- Choosing small or medium everyday organizers
- License
- Free tutorial; commercial-use permission not established on the project page
- Price
- Free instructions and templates; optional paid PDF
Installing the zipper without ripples
Begin with a nylon coil zipper if the pattern permits one, and test your zipper foot on scraps first. Baste the tape to one fabric layer before adding the lining if the sandwich keeps shifting. Keep the zipper relaxed rather than stretching it to match an inaccurately cut edge.
When the slider approaches the presser foot, stop with the needle down, lift the foot and move the slider out of your stitching path. Lower the foot before continuing. Press fabric away from the teeth carefully, keeping a hot iron off plastic coils and following the zipper manufacturer’s heat guidance.
Making zipper tabs that fit the opening
Use fabric zipper tabs only where the chosen construction includes them. They shorten bulky ends and create a neat visual stop, but adding them changes the usable zipper length. Measure the completed zipper-and-tab assembly against the pattern’s required opening before attaching it to the exterior.
A side pull tab serves a different purpose from a tab covering the zipper end. If you add a ring or clip, baste the loop within the seam allowance and check its direction before sewing the final seam. Avoid placing hard hardware directly under the machine needle.
Boxing corners consistently
For boxed corners, align the side and bottom seams before marking the stitching line. Measure from the seam intersection, not from an uneven raw edge, and compare both corners before cutting anything away. Repeat the same process on the lining when the design requires matching bases.
Remember that added depth reduces height and width in many rectangle-based pouch designs. Do not enlarge the corner cutouts and expect the original finished dimensions to remain unchanged. Make a paper mockup or a scrap-fabric sample if you are adapting a flat pouch into a box.
Choosing interfacing without excessive bulk
Woven fusible interfacing adds body while retaining a fabric-like feel; fleece and foam produce different cushioning and structure. Follow the specified stabilizer for your first version, especially when the designer has calculated a turning opening around thicker layers. A heavier substitute can make small corners difficult to turn.
Fuse a test swatch using the product’s recommended temperature, pressure and cooling time. Look for bubbling, unwanted stiffness and adhesive showing through the right side. Where the instructions allow it, keeping bulky stabilizer out of seam allowances can reduce ridges without weakening the entire pouch body.
Finishing the lining and checking usability
Choose a light-colored lining when visibility matters, and prewash washable fabrics before cutting. Plain quilting cotton is easier to handle than slippery or coated materials for an early project. A wipe-clean fabric can be useful for cosmetics, but its needle holes and pressing limits need separate consideration.
Leave the zipper partly open before closing the pouch’s outer perimeter, and preserve the designated turning gap in the lining. After turning, push out corners gently, smooth the lining and check the slider’s full travel. Close the gap only after confirming that no lining fabric catches in the teeth.